https://noroff.bravais.com/document/11727/preview
Task 1: Report on an inventor
Throughout this lesson, you’ve learned about the various inventors that contributed to the art of photography. Choose one, do some additional research and, in your own words, write a report on why you think the chosen inventor contributed to modern photography.
- Explain your research and choice of inventor.
- Elaborate on the inventor’s contribution.
- Include any images which you think are necessary to explain your thought process.
- Your final report should be 500 – 1000 words.
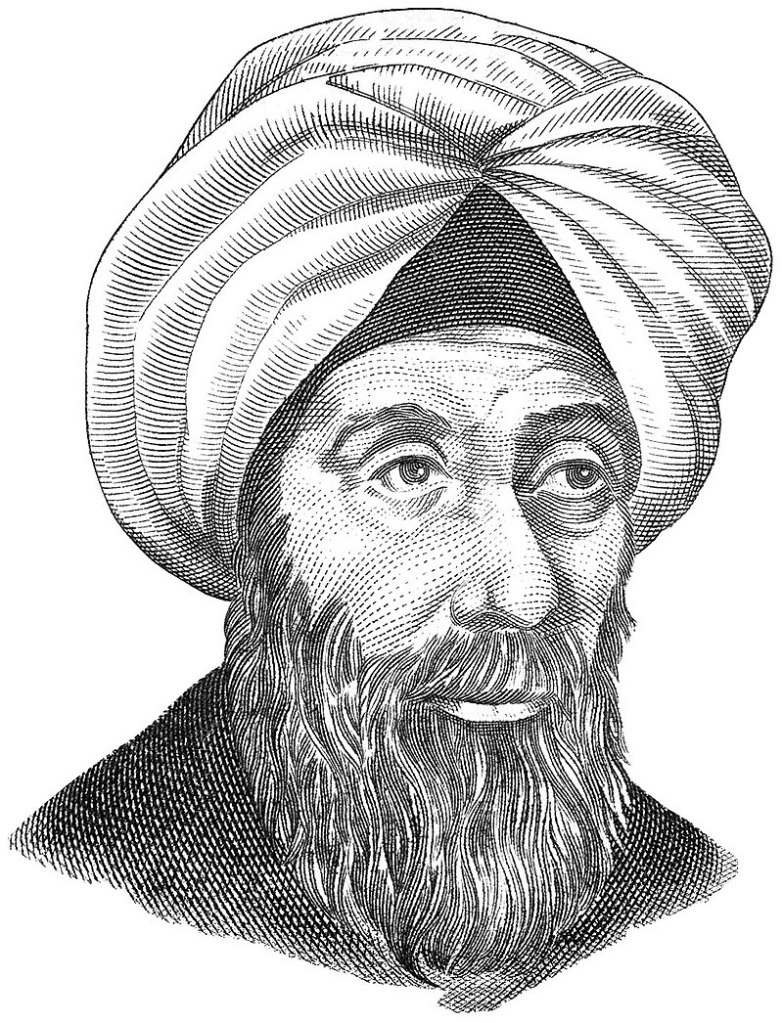
I chose to write about Alhazen (Abu-Ali al-Hasan ibn al-Haitham) because his knowledge permanently changed the world of photography. That such a small detail could do so much amaze me. So, I wanted to write a report on the one who figured this out. I really like getting in-depth pictures so when I saw that this was the man who found the way to make the ancient time projections clearer, I just had to choose him.
My research was built up mainly of Photofocus.com, Wikipedia, and a dictionary to understand the words.
The picture chosen is an illustration by Michel Bakni https://commons.wikimedia.org/wiki/User:Michel_Bakni that came up on the Norwegian Wikipedia.
Alhazen was a man that invented and tried to figure things out, like how a rainbow worked. Sure, he didn’t figure out the rainbow but he certainly did figure out other things in his lifetime. His observation carried over to how modern lenses work. Without a lens then a modern camera would not work. It needs a lens since it is the lens that allows light to enter the camera (or in ancient times camera-room) in a controlled manner. In the time of Alhazen they did not have lenses but just holes. When we use cameras today we can choose how big the lens opening should be and this was because Alhazen found out that a smaller pinhole creates clearer products.

This happened in the 10th century. Back in the olden days before they had what we would easily identify as a camera. People before Alhazen figured out that light entering a pinhole could lead to an image being projected somewhere else.
The picture to the right shows how an image would get “pressed” through the pinhole and get shown inside the box upside down. A smaller pinhole would make the image clearer inside the box. This was what Alhazen figured out.
https://www.wikiwand.com/en/Pinhole_camera This is a website that right off the bat explains what kind of camera that Alhazen worked with. But just imagine it as a man-made eye.
The mathematician Alhazen took note of the pinhole size and the image depth was connected. This is the information we use today and it is really important for photography. If we didn’t learn this then photos could still all be “flat” with no proper depth. Now his knowledge led to the F factor on cameras. Or Fn. Aperture.
Task 2: What can my camera do?
Please answer the following questions. If necessary, refer to your Camera Manual:
- Name all the functions/buttons on the front of your camera.
- Name all the functions/buttons on the back of your camera.
- Explain, in your own words, what ISO is and how you would set it.
Now take three images of the same scene at ISO 100, ISO 1600, and your camera’s highest ISO setting. Place them next to each other to see the impact this had and post them. - Explain, in your own words, what aperture is and how you would change it.
Now take three images of the same scene and set your aperture to F22, F5.6, and F1.4, (or the lowest possible f-stop your lens would allow), respectively. Place them next to each other to see the impact this had and post them. - Explain in your own words* what shutter speed is and how you would change it.
Now take three images of the same scene and set your shutter speed to 1/1000, 1/60, and 1/4, respectively. Place them next to each other to see the impact this had and post them.
I bought my first “professional” camera on the 16th of December after going through three different Elkjøp stores in Oslo. Luckily Elkjøp Ullevål had the type of camera I needed. What a stressful day it was!
Tip: If you are ever going to buy a camera, have a clear budget and don´t allow yourself to be guilted into buying over it. I am 99% sure my sales guy was trying to get me to go over by acting like he really cared about my choice and the quality of the photos. Like dude, I don´t need a camera bag 200 NOK more expensive than necessary just to get an extra compartment. I need to have enough money to eat this month. Opportunistic vulture you are good at what you do, but not good enough, Haha!
Since I am pretty new to my camera I had to get help from the manual book to have the correct words for the different functions. I also got a lot of help from tutorials on Youtube. I usually just have an idea of what things do while not knowing their name, this time I learned some things.


The front of the camera shows a lens with a cover over it. The button to take a picture is to the left in the picture.
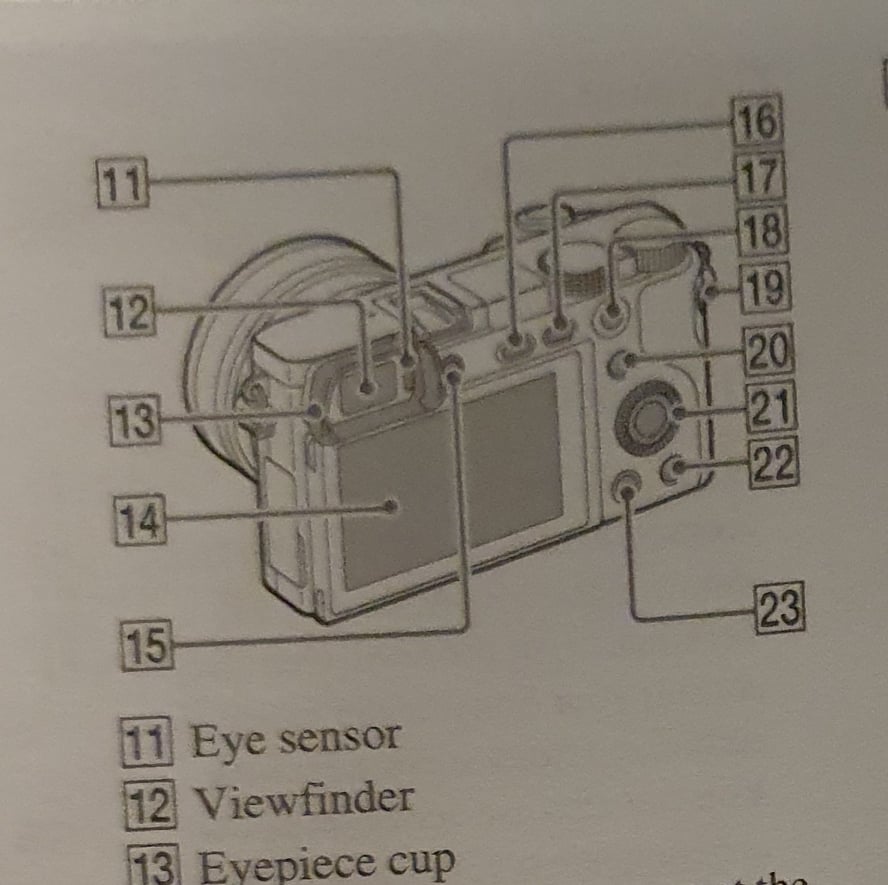
The back of the camera shows the control panel where I can see what I am taking pictures of and what settings I have activated. There is also this wheel in the top right that I use to change the shutter speed. The menu lets me change details, like picture format, etc. AEL can be held in when using the “joystick” to change ISO, aperture, and shutter speed. Fn is a button for aperture. The joystick is used when I am on the menu. The right of the joystick also works as a button to access and change ISO.
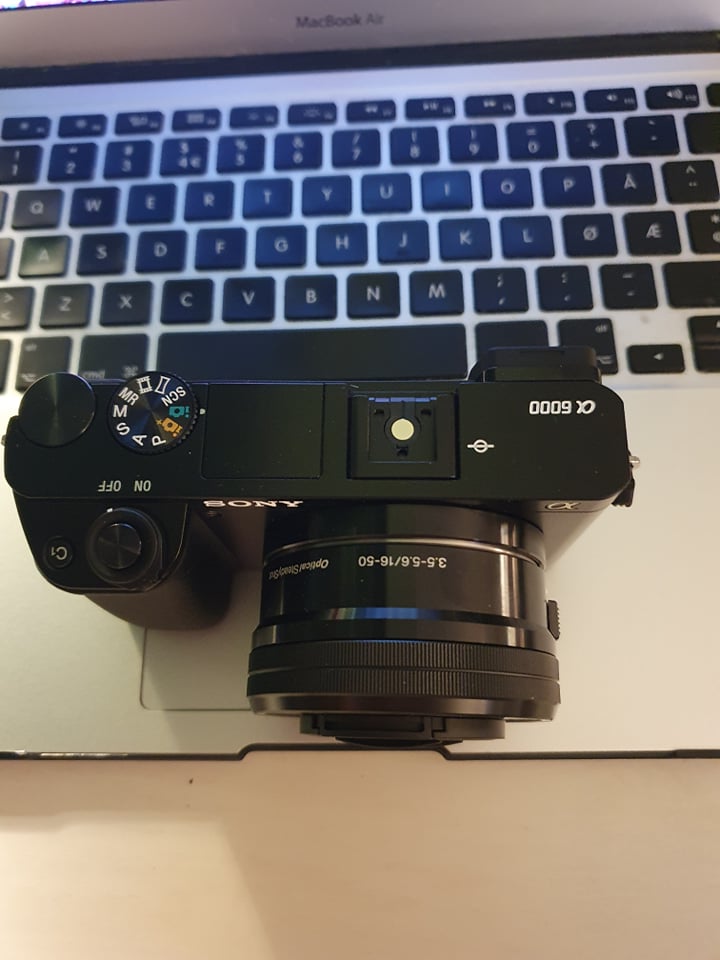
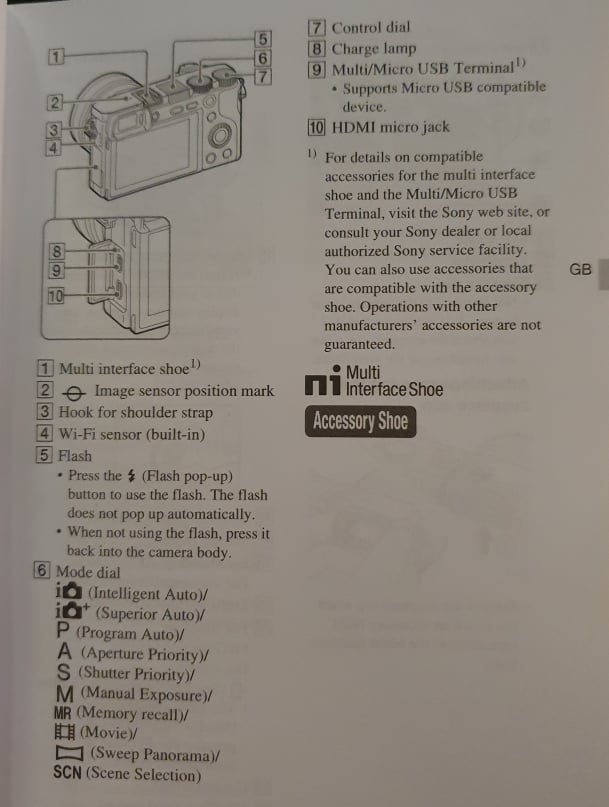
From above you will see more buttons. I will take the left side first. The wheel with many illustrations and letters on is the one I use to change the camera mode. The green and gold illustration of a camera is for automatic settings. That the camera does the settings automatically so that I don’t need to.
P is Program Auto. It automatically sets aperture and shutter speed, but other settings can be changed. A stands for Aperture Priority where I can adjust and change the range in focus and background blur. S stands for Shutter Priority. It is for adjusting the shutter speed manually. M stands for Manual Exposure, it is for changing aperture and shutter speed manually. MR stands for Memory Recall and it shoots pictures with preset settings. Then there is the symbol of a film strip and it stands for Movie (aka video). The squeezed rectangle is a symbol for panorama pictures (taking many pictures to make one big one). SCN stands for Scene Selection and it selects a mode based on what you are taking a picture of.
The button above the wheel with symbols has two jobs. It is the button I press to take my picture and if I change the wheel around it a tic I turn the camera on and off. Beside this button is a button that says C1. That means Custom 1, I personally have not used it. Custom button 2 is underneath the joystick at the back of the camera.
The manual that came with the camera is more precise with the names though. I didn’t even notice that the manual had the answer to the mode dial names. I just ran through the entire dial when explaining… gee I really do take the long route, my old math teacher was right!

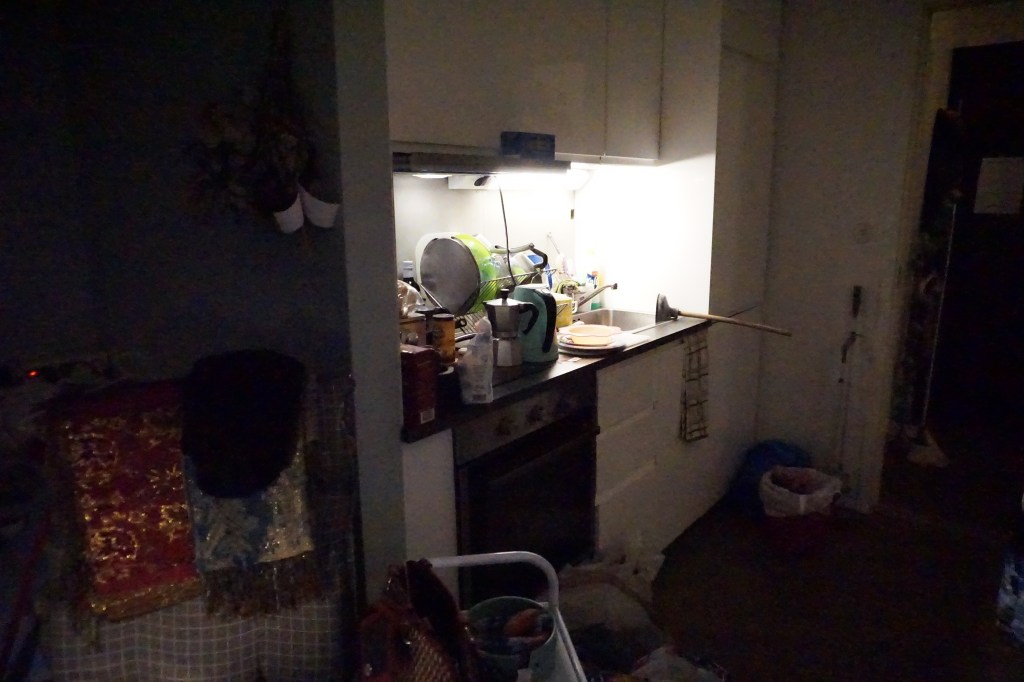
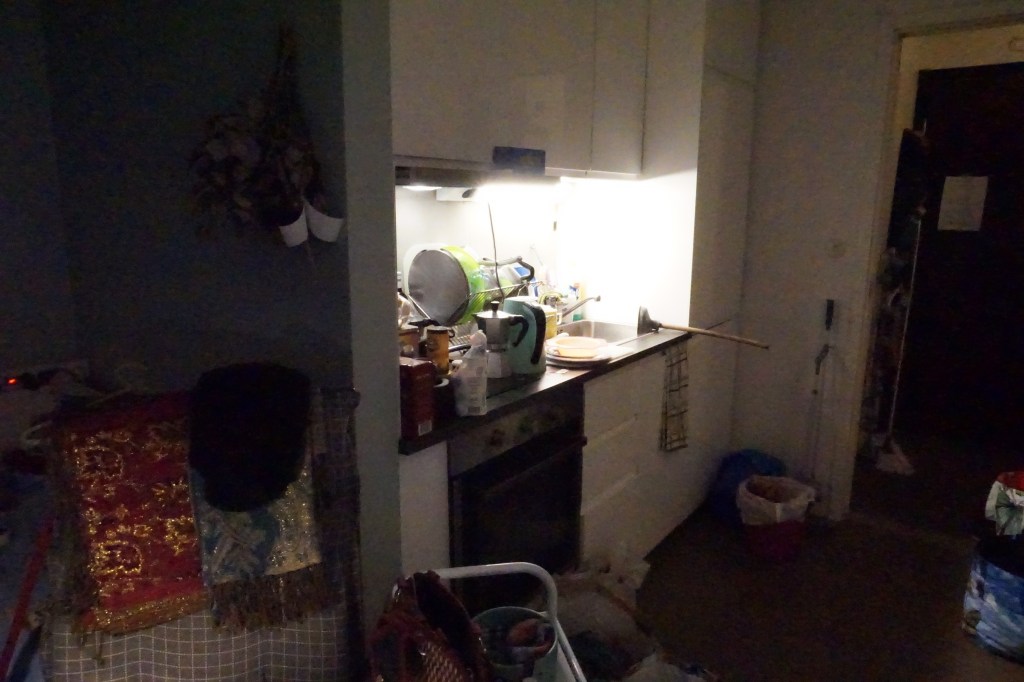
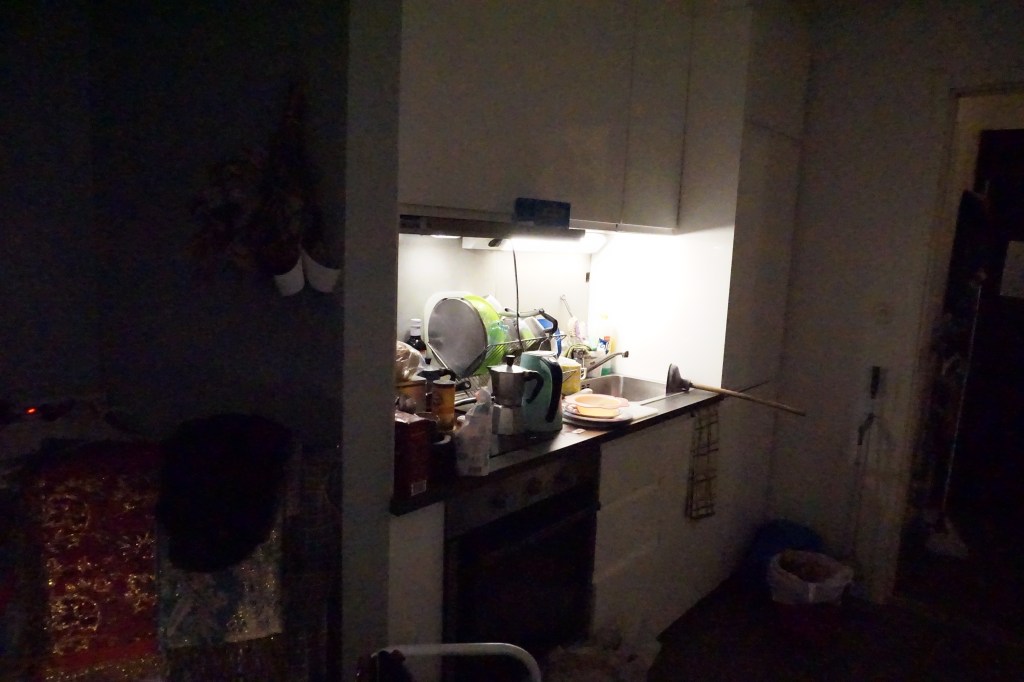
I decided to take picture of my kitchen. My mom and I are preparing to spend our Christmas in Sweden so things are a bit cluttered. Sorry about that. I started with ISO pictures, I did ISO 100, ISO 1600, and ISO 25600. There is a clear difference. From spooky kitchen to The Gates of Heaven kitchen.

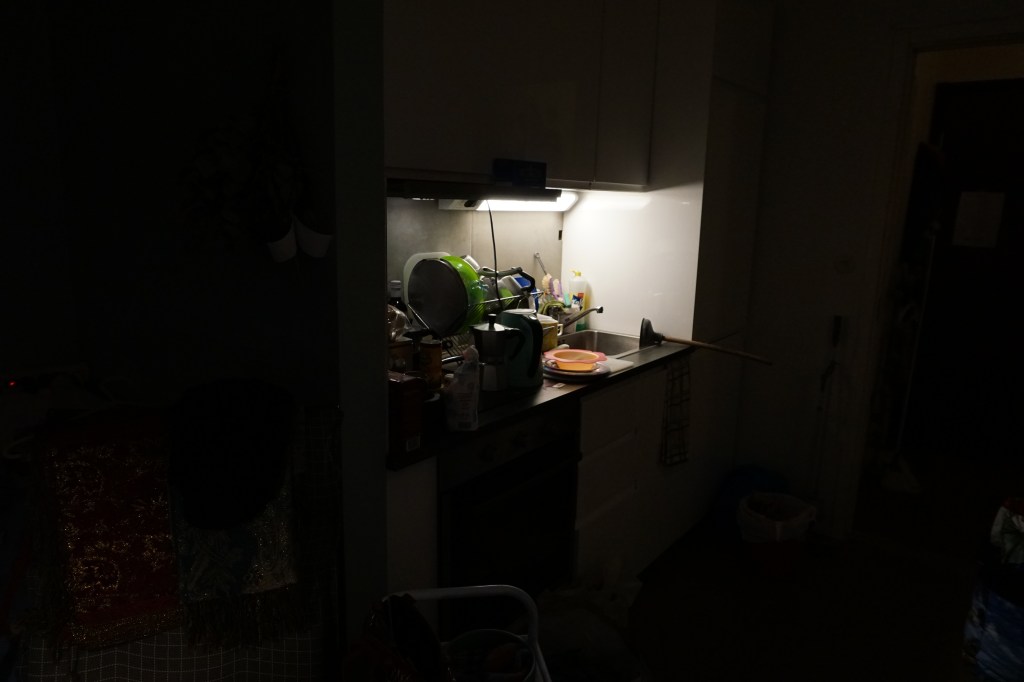

ISO is how much light the camera takes in. Higher ISO means more light. Lower ISO means less light. If a place is dark and you want the picture light then you use a high ISO, then the camera opens its “eye” a lot and allows more light to the picture. Like when your pupil expands and retracts.
I then did an aperture. F22. F5.6, and then F3,5. I could not do F1.4. I think the difference would be greater if I had a more detailed thing to take picture of. Like a face.


Aperture is how big the opening for the light is, thus how detailed something gets. Alhazen was the dude that figured out that a smaller hole in the ancient pre-camera would make deeper (depth-filled) pictures. A smaller aperture equals more depth and more crispiness. A bigger aperture equals softer and not in-depth pictures (compared to a small aperture).
Aperture can be changed in the camera settings. The Fn button.
Lastly, I did shutter speed. 1/1000, 1/60, and 1/4. At 1/1000 of the kitchen, I think the gates of heaven opened up again.


Shutter speed is how fast the lens closes. This affects how motion shows in the picture later. Fast shutter speed lets the motion part be crispier/clearer. An arm swing would not show mutch “motion”. However, a slow shutter speed (aka low speed) would make it blurrier. The typical “motion” picture where the thing moving is blurrier.
Shutter speed can be chosen more specifically in the camera settings.
And guess what? I learned that I can´t just pull out my memory card from the laptop without it giving me a warning.
