I have to admit, HTML and coding scare me a little. I have minimal experience with it. The only time I used it was to edit my fanfiction on Archive of Our Own.org or put images on the same site. My biggest issue is remembering small details that need to be written for the computer to understand me. I am learning now though.
When I found out that a big part of HTML is to keep the files organized I felt like I was in heaven. One of my weirder “hobbies” is organizing things. I do it at work (I work with children so I organize the crayons), my books, my cutlery, and my files. Reading that I have to keep my files orderly just made me glad, though the naming of the files was a little letdown. I love giving my files overly specific names.
Activity

Lesson Task 1.1- Hosting and file management
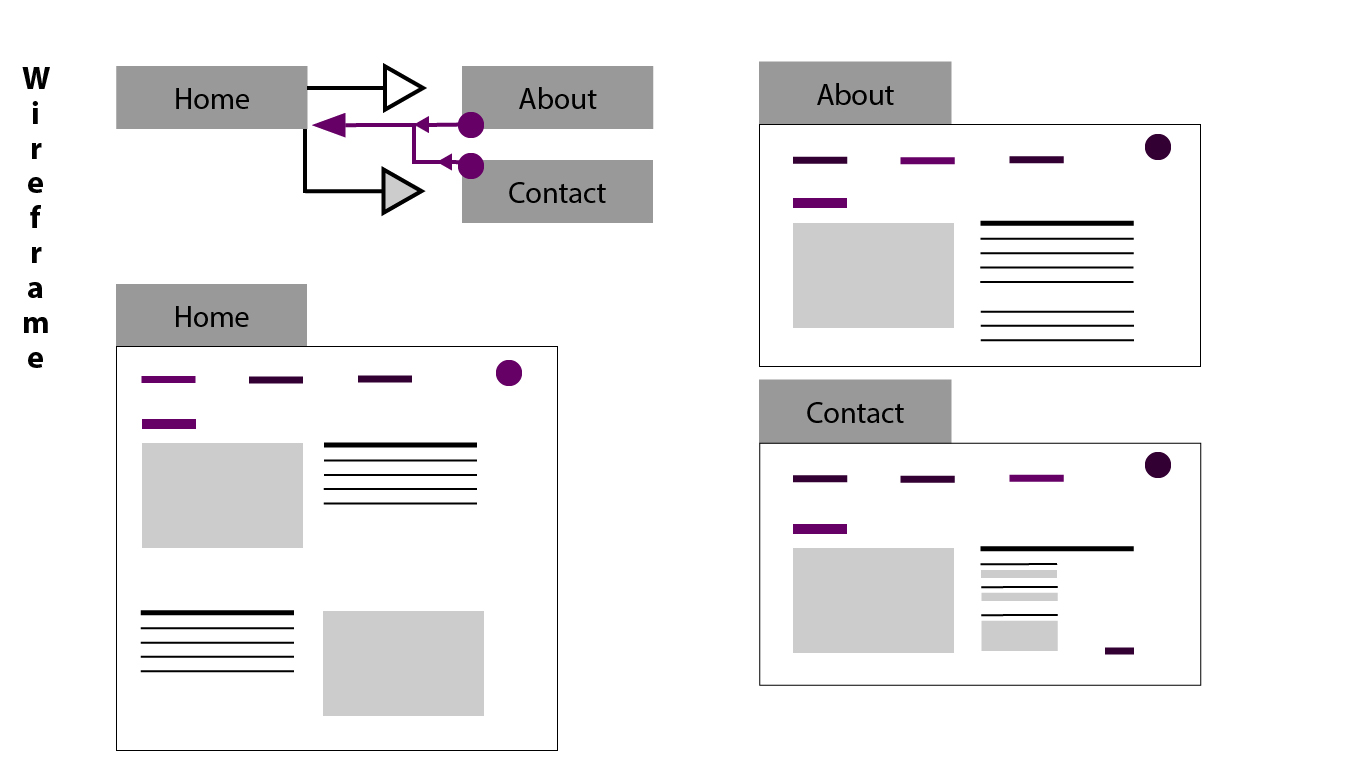
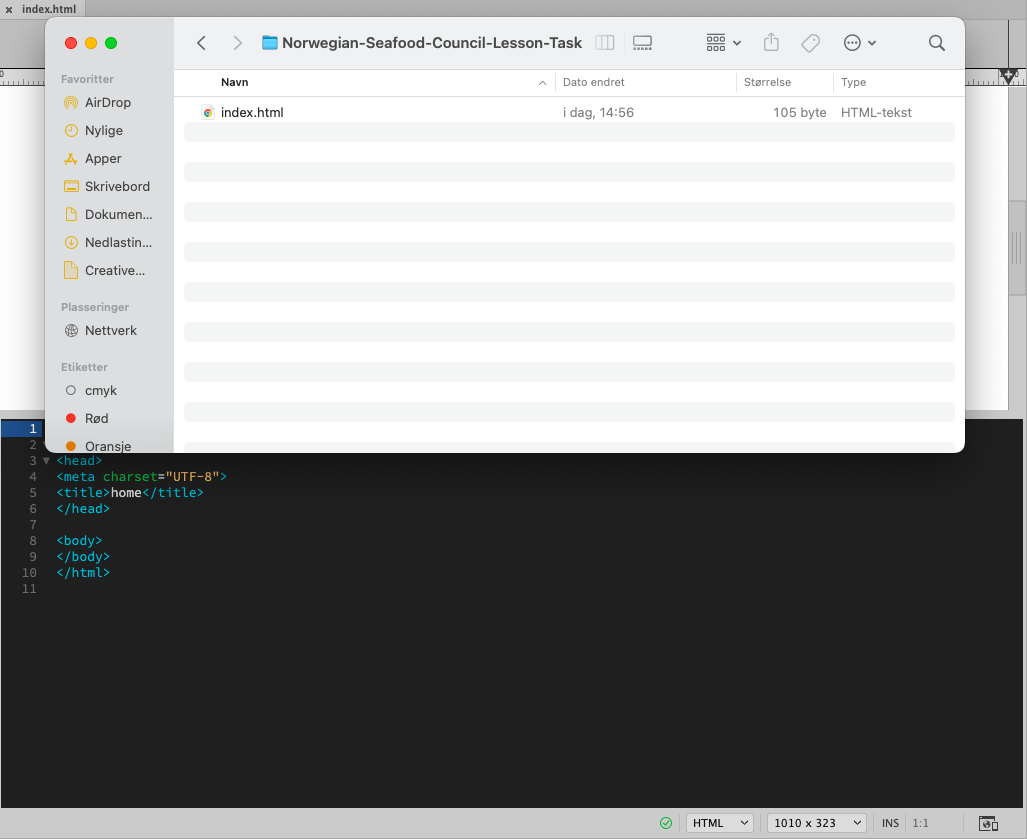
In this task, I had to make an index.html and a wireframe for the Norwegian Seafood Council. Part of the task is to later sign up for one.com/no/ to have as a hosting service (aka hotel for your website), so that will probably become one of my major sites for Screen Design later.
Activity
Open Adobe Dreamweaver on your computer and open the index.html from the “SBD2-activity” folder. Make Parent-Child element differences between <header> and </header>.

Lesson Task 1.2- HTML Basics
The difference between a parent and a child-type element becomes so helpful when there are a lot of tags. Parent-type elements “embrace” everything within them. It is like if a parent holds a bunch of toddlers in their arms named <title> and <main>. <main> can for example hold their doll named <p>, their own “child”.
- <!doctype html> This one is at the start of the document so it is clear from the beginning what type of document type it is. It is a parent-type element.
- <html> This one states that everything within its embrace is Html. It is a parent-type element.
- <head> Means the space dedicated to the title of the page. It is a parent-type element.
- <body> Body means the meat of the website. It will be the main focus of people´s attention when they visit the website. Like text, pictures, etc. It is a parent-type element.
- <title> Title is what it says it is. The title for whatever the page is going to be about. It is a child-type element.
- <header> Headers are the headlines. Imagine a book. The title is the book´s name. The headers are the chapter names. Headers can work as a parent or child-type element depending on if you want it to have a headline look or not.
- <main> This one means what text you want. Like information etc. This is where you write all the info you want people to take the time to read. Within this tag, you can put paragraphs (with their own tag P) It is a child-type element.
- <footer> This one is the footnotes basically. It is information at the bottom of the page. It is a parent-type element.
The image below shows my first attempt at coding from the ground up. I realized about paragraphs on my own since I do something similar in archiveofourown.org. I use <p> and </p> there too as well as <b> and </b> for bold text.

Activity
Open the browser on your computer and type in a specified search, something like “Organic Herbal Tea”. Work with the top three results. Pay close attention to the title (large in blue) and the description (under the blue title).
Now, open each of the websites. Right-click on the website and choose “Inspect” to reveal the site’s code. Open the <head> section inside the HTML code and look for the title, meta description, and meta keywords and see if it matches what was displayed in the Google search results.


Yogi Tea had a different description. In the Google search, it is in Norwegian but in the code, it is in English. Its meta description was not the same. Plus everything within the code was in English and did not translate to the same thing. Same with Full Leaf Tea CO, though at least it was both in English. The meta description was not the same. With Abor Teas it didn´t show any meta description in the code, even after cmd+f to search for the word, it did however have keywords. I didn’t see the keywords at all, though the keywords make sense for the search results.
Lesson Task 1.3
Task: The following elements should now be added to the HTML document
- <meta> element with some metadata – charset, description, keywords, author, viewport – note: must sit within the <head> element.
- Create a <ul> (unordered list) with <li> elements that will later form the navigation menu. (You are not required to style or link anything at this point, just list the menu items that will represent the links to the different pages of the website later). Think carefully about where you should place this list.
- Create at least two sections in the content using either <section>, <article> or <aside> elements that will hold the main content.
- Create at least one <h1> element and one <h2> element. Note how the <h1> and <h2> elements render as different sizes and as bold text.
- Create at least four <p> elements.


I will later add it to a web browser but I haven´t made a one.com account yet so it waits until Monday.
Lesson Task 1.4

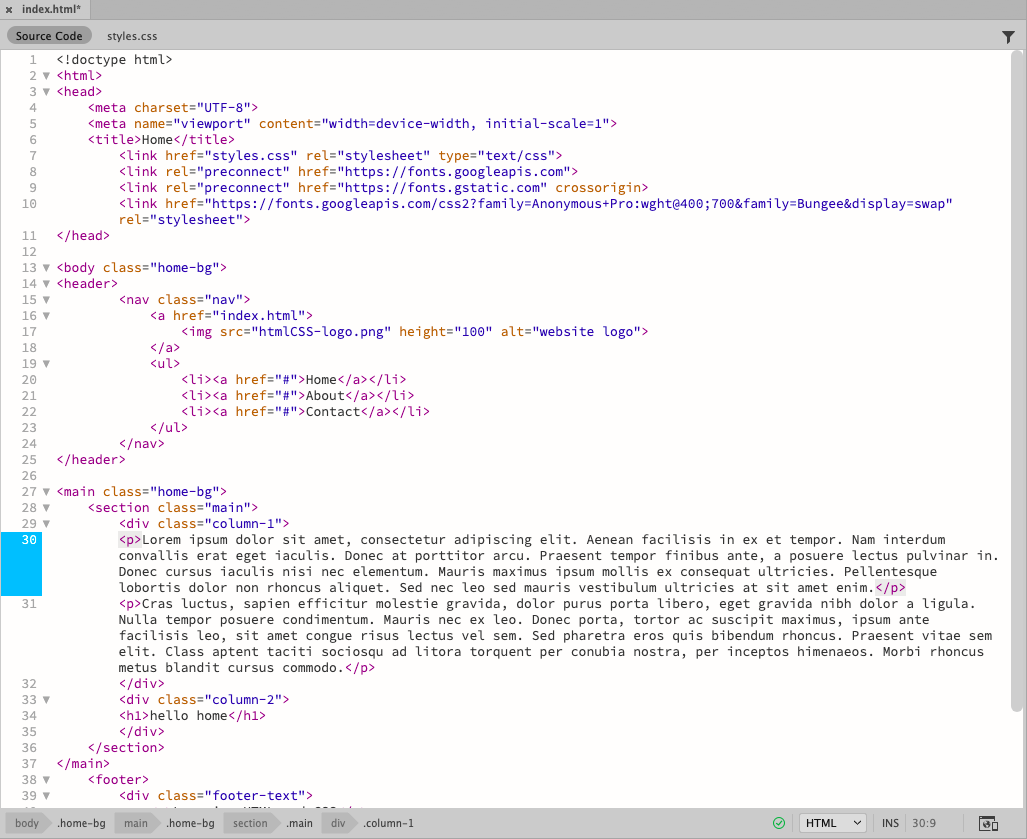
Here I have made my menu list hyperlinked as well as added an image. I also now have learned how to make a break line. I have learned how to more easily add code, the “insert” and HTML route works well on Dreamweaver.
