Another week´s homework 😊
Part 1
Task: Choose one template that you like and demo it. Sketch out the structure of the website template as a low fidelity wireframe to understand the different sections or building blocks of the template. Take screenshots of the template and publish this with the wireframe sketches to your blog.
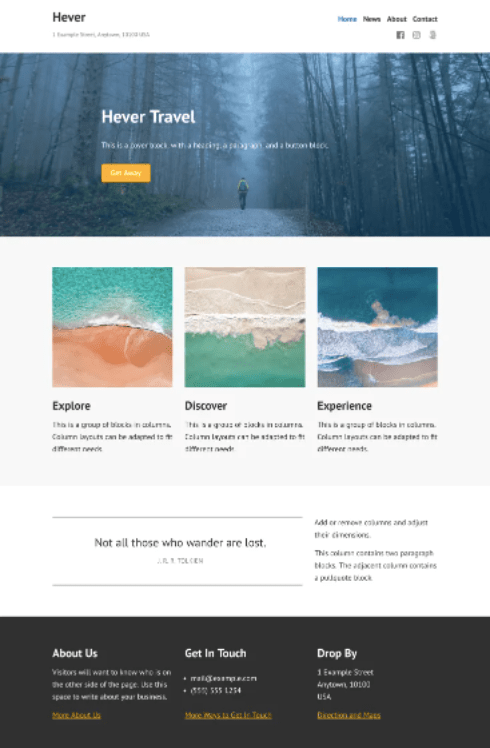


The structure of the Hever template is pretty nice. This is how the structure is, simplified:
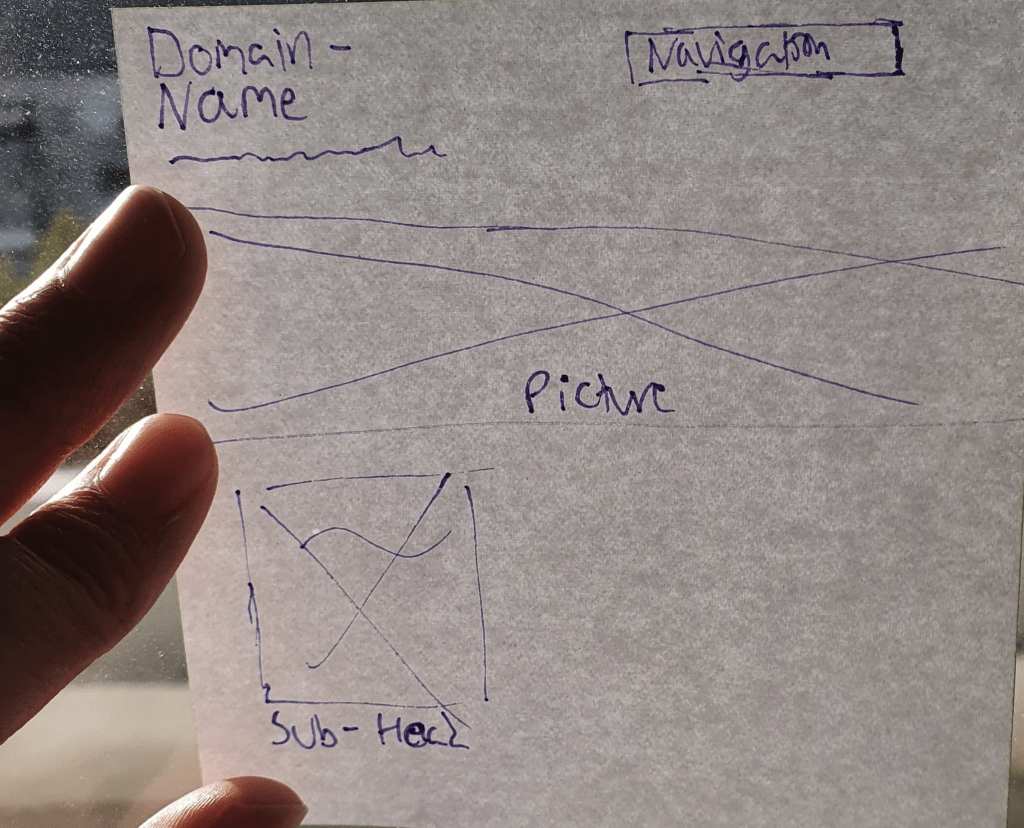
The setup is so that the domain name/blog name is in the top left, with the motto of the website right underneath in body text size. The navigation panel is to the right, and underneath all that is a photo stretching to both sides completely. Over that picture is an introduction or informative text. That was the starting section’s structure.
After that part the template advises a picture of some sort and text of a choice. On my blog, I chose to have my first lesson task where I introduce myself.
WordPress had templates that could be helpful when designing a website myself. I am guessing that is why I had this task, huh?
Part 2
Task: Acquire your own hosting service. (Mandatory) An individual hosting service will be needed throughout the rest of your studies, and this Lesson Task is therefore mandatory. After completing the domain registration, you can write a short paragraph about the process, the hosting package you chose, and how you went about choosing a domain name. You can include screenshots of the process to illustrate it more graphically
Aka: The task that nearly gave me a heart attack. I forgot that WordPress came under the requirements the task mentioned and I was scared I had to add even more costs to just being able to do my homework for a hosting service.
Since WordPress already hosts my site through their WordPress hosting, I can do things like buying on-sale domains and such (+60 NOK) to improve my blog. Another thing to do could be SEO (Search Engine Optimization) and use words, tags, and phrases that can get me views and clicks. (Like how all popular cooking blogs have entire life stories before the actual recipe).
Hosting basically means that it holds my blog info safe and secure. And WordPress does that since I made my blog using their tools.
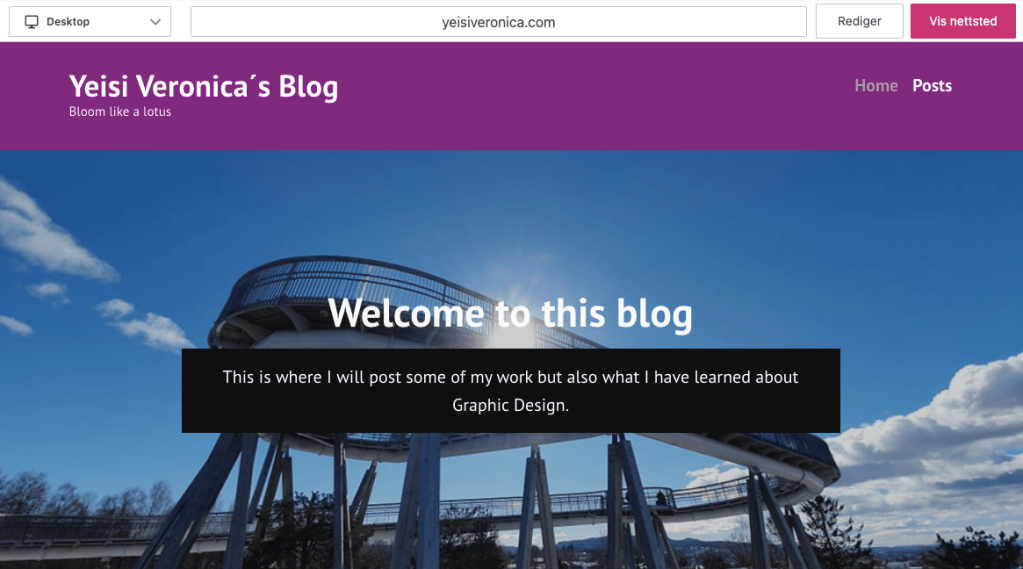
As you can see in the picture below, my blogs domain name is: yeisiveronica.com, and leads directly to my homepage. (I tested it with a friend). Given that my name is Yeisi Veronica it can´t be hard to understand why I chose my domain name to be what it is. The last time I checked with Statistics Norway, less than 4 people have my first name (Yeisi), so it will be a unique domain name.
However, it will always be straightforward to who I am, so if somebody wants to hire me or find out who I am, they will know that they came to the right page. A change I could have done was to add something in the name that says “Graphic Design” but my blog was made months ago so that wasn´t on my mind.
The progress to do all this was pretty straight-forward and made it so that I didn´t have to program and make my whole blog from scratch. I guess that was my lesson this week, that using a CMS can save time, money, and energy as opposed to from a scratch design.
